Lemon Coconut Loaf


IMG_3486

Coconut and lemon are a match made in heaven, and when that match is a dense crumbed, delicious and butter-less lemon loaf, well you may as well skip the rest of this and head straight to the recipe. But before you do, let me just point out that this is one of those cakes you need to have in your repertoire of baking. A slight variation on an otherwise very simple lemon yoghurt cake, the coconut and honey add a surprisingly decadent flavour and the ground almonds give the cake the perfectly dense texture similar to a pound cake ladened with butter…except there is none, so you can eat another piece, right?

Make this cake ahead and it stores well in the fridge for a couple of days but like many baked goods, it’s best moments are when it’s pulled straight from the oven, slathered with soft butter and served with a cup of tea.

IMG_3508

Ingredients:

1 cup all-purpose flour
1/2 cup ground almonds
2 teaspoons baking powder
1/2teaspoon kosher salt
1/2 cup sugar
2 tbsp honey
2 tablespoons finely grated lemon zest
1 tbsp lemon juice
3/4 cup whole-milk Greek yogurt
1/4 cup vegetable oil
2 large eggs
1/2 teaspoon vanilla extract
1/2 cup sweetened desiccated coconut

IMG_3476

  • Preheat oven to 350/180C. Line a nonstick loaf pan with parchment paper
  • In a bowl combine flour, ground almonds, baking powder and salt. Whisk to combine.
  • In a separate bowl combine sugar and lemon zest, rubbing the mixture together. Add yogurt, honey, lemon juice, vegetable oil, and vanilla. Add eggs, one at a time, whisking to combine.
  • Fold the dry ingredients into the egg mixture, finishing with the coconut.
  • Pour into the loaf tin and bake for 45-50 minutes until a toothpick comes out clean. If you find it’s browning too quickly, tent with tin foil. Remove from the tin and allow to cool slightly before digging in.


Roast Rhubarb Crumb Cake

IMG_4810It’s come to that time of year when you begin to feel a bit impatient. Spring has (sort of) arrived with longer days, extended hours of sunshine, and the realization that we are already well into the New Year.

It’s been a few months of change but with lots of great opportunities ahead, and waking up today to see ‘May 1st’ on the calendar was exciting but also daunting. Not only because spring brings new hope and good vibes into everyone’s lives, but also because it’s a substantial mark in the calendar. (Basically, it’s time to really get moving!)

Spring reminds me of my passion for baking because of all the great fruit you can find at the local markets. Reminiscent of spring back home, Rhubarb is one of those ingredients you can buy year round in the UK, something I found quite surprising upon moving here. The variety, called forced rhubarb, is grown throughout the winter months in greenhouses with no light, allowing the rhubarb to feed off the stored carbohydrates from the roots of the plant. I prefer to stick to the fresh spring product, so naturally I grabbed some at the store the other day curiously wondering what it would be transformed into.

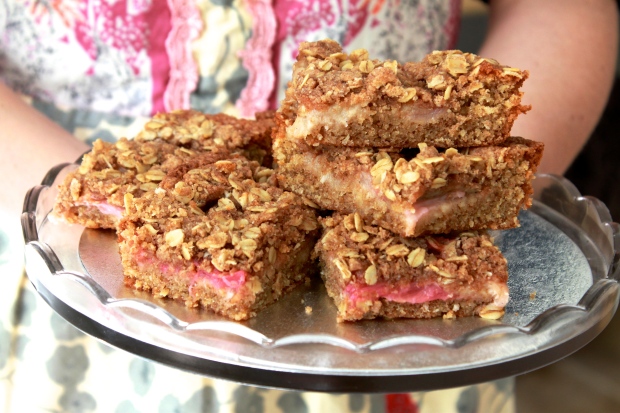
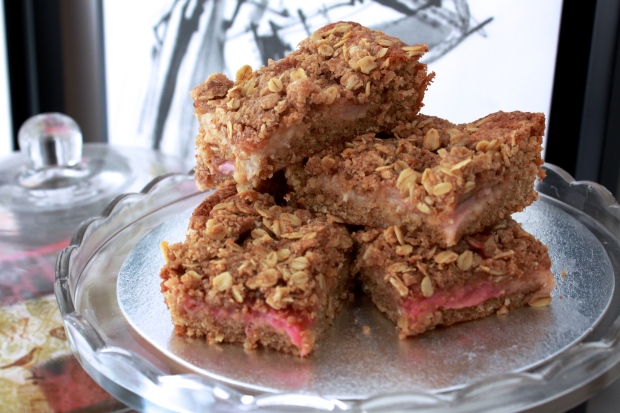
The crumb cake is a twist on a basic coffee (or tea!) cake. Simple, yet satisfying, it’s one of those bar cakes you don’t want laying around out of fear that the entire thing could possibly be consumed within one sitting. The rhubarb works perfectly here because of the tart flavour and soft texture it adds to the cake. Rhubarb perfectly peaking through the middle layer, along with a classic crumb topping transform this otherwise unassuming tea-cake into something so splendid you’ll want to share it with all of your friends.

Rhubarb Crumb Cake

For the rhubarb:
250g (1 cup) fresh rhubarb
25 g (¼ cup) caster (granulated) sugar
squeeze lemon juice
½ vanilla pod, seeds removed
splash of water

For the topping:
45g (3 tablespoons) unsalted butter, cold
45g (1 1/2 tablespons) demerara sugar
60g (a little under 1/2 a cup)
white spelt flour ( or all- purpose)
50g (1/2 cup) jumbo oats
2 tsp ground ginger
2 tsp ground cinnamon

For the cake:
115g (1 stick) unsalted butter, softened
2 medium eggs
160g (2/3 cup) caster (granulated) sugar
15 mL maple syrup
½ vanilla pod, seeds removed
95g (2/3 cup) white spelt flour
25g (1/4 cup) quick porridge oats, or large flaked oats roughly processed
1/2 teaspoon baking powder
1/4 teaspoon bicarbonate of soda
2 tbsp dessicated coconut
1 tsp cinnamon
A pinch of salt

Preheat the oven to 160C/325F

To prepare the rhubarb, trim the ends and place in a roasting pan with sugar, lemon and vanilla to toss with splash of water. Cover with foil and roast for 20 minutes or until tender. Remove and let cool.

To make the crumble topping, rub together the flour, sugar, flour and oats until you have something that resembles breadcrumbs. Chill in the fridge until needed.

Line a 20cm square baking tin with parchment paper overhanging the side and butter well.
IMG_4775

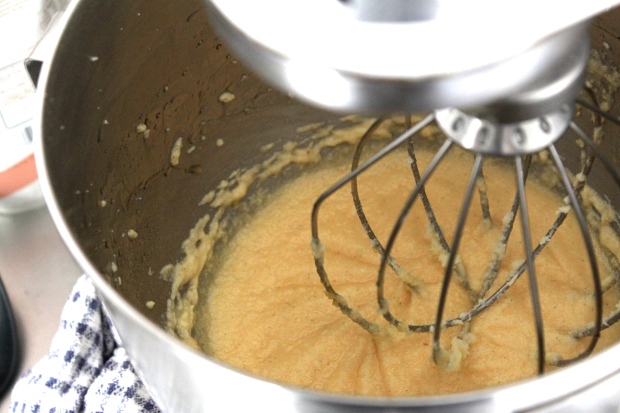
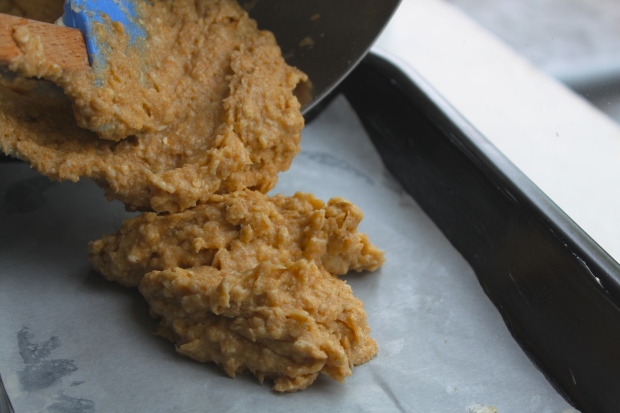
To make the cake, beat the butter and sugar until smooth.  Add the eggs, one by one, continuing to beat until they are incorporated. Add the vanilla and maple syrup and beat until combined. Finally, sift together the flour, oats, the baking powder, bicarbonate of soda and salt and fold the dry ingredients into the wet.
IMG_4778IMG_4783

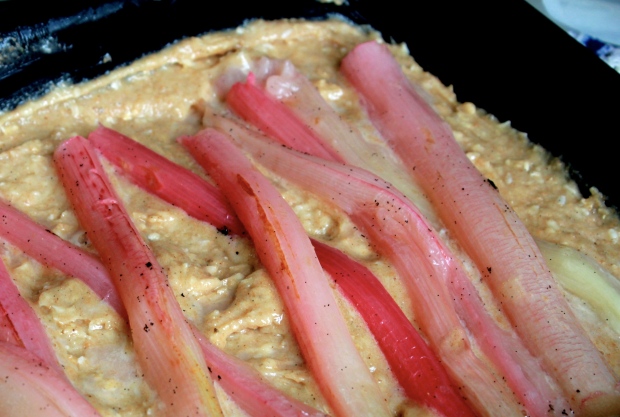
Spoon the cake mixture into the tin, smooth and top with roast rhubarb. Sprinkle the crumble mixture over the top and bake for 35 – 40 minutes until the topping is golden and the cake is cooked all the way through.

Allow to cool in the tin for 10 minutes before using the parchment paper to pull the cake out of the tin. When cool, slice into squares.
IMG_4804


The Best {Gluten-free!} Brownie

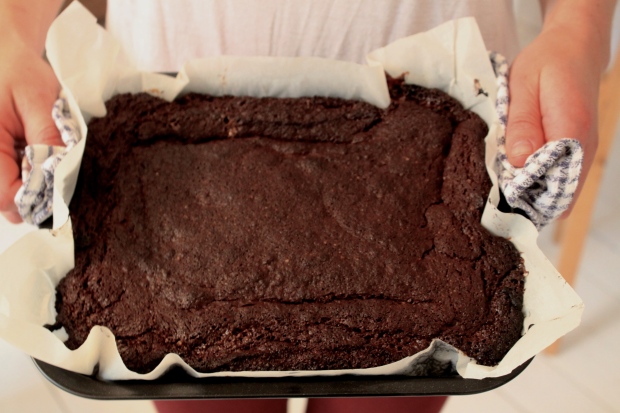
IMG_4745It’s Friday! And raining… oh so typical of London spring. We were feeling in the need for a little pick-me-up this afternoon while strolling around Portobello Market after finishing some work. What was quick, easy, and baked in under an hour (as our patience was running low!) Brownies! Not just your typical brownie though, a gluten-free brownie packed with salted caramel, hazelnuts and a pinch of chili. If you can resist cutting a piece from them fresh out of the oven, we applaud you… because we were unable to!

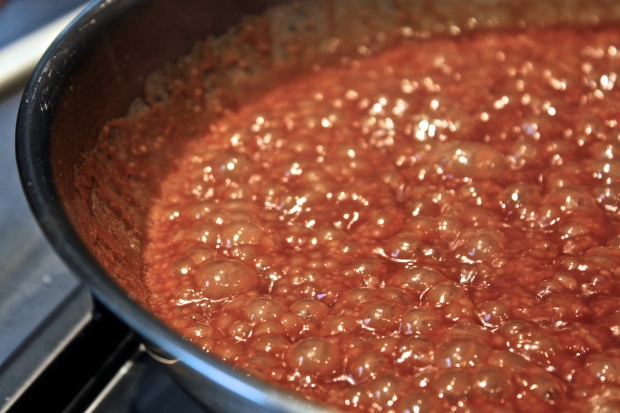
P.S. Don’t be scared of homemade caramel, follow the steps below, it’s easier than you think!

INGREDIENTS

For the caramel:

125g (1/3 cup) caster sugar
65ml (1/3 cup) double cream
40g (3 tablespoons) unsalted butter
1/8 tsp maldon sea salt

For the brownies:

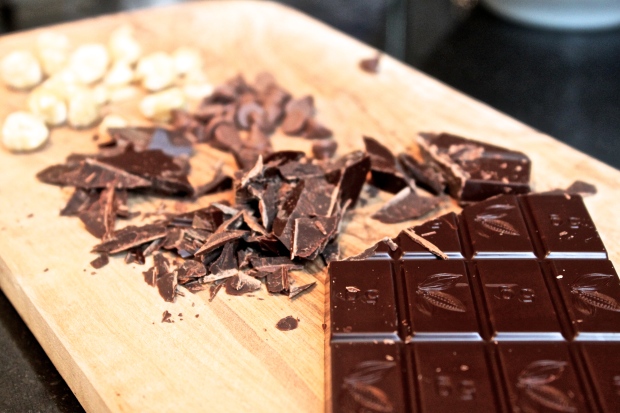
150g (12 oz) dark chocolate (minimum 70%, roughly chopped)
150g (6 oz) milk chocolate
175g (1 1/2 sticks) unsalted butter
175g (1 cup less 1 tablespoon) demerara sugar
4 eggs
1 teaspoon vanilla extract

50g (1/2 cup) ground almonds
40g (1/2 cup) cocoa powder
1 teaspoon bicarbonate of soda/baking soda
1/4 teaspoon salt
1 pinch chili powder (optional)
50g (3 oz) hazelnuts, toasted and roughly chopped (optional)

INSTRUCTIONS

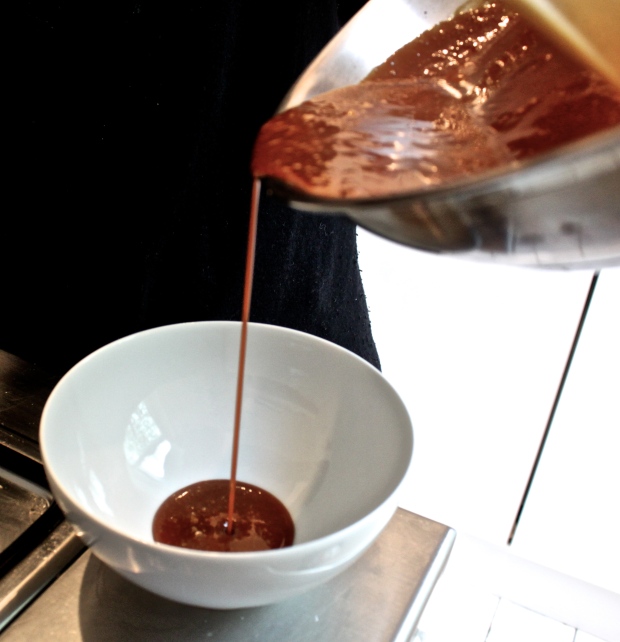
In a large heavy- bottomed saucepan, heat the sugar, swirling as it begins to melt. When it is golden brown and liquid, remove from the heat and pour in the cream (it will bubble, don’t worry!). Swirl to incorporate the cream, while adding small pieces of butter and salt until combined. Pour into a bowl and set aside.

IMG_4722IMG_4727

For the brownies, preheat the oven to 180C/350F and line the bottom and sides of a 23cm square tin with parchment paper

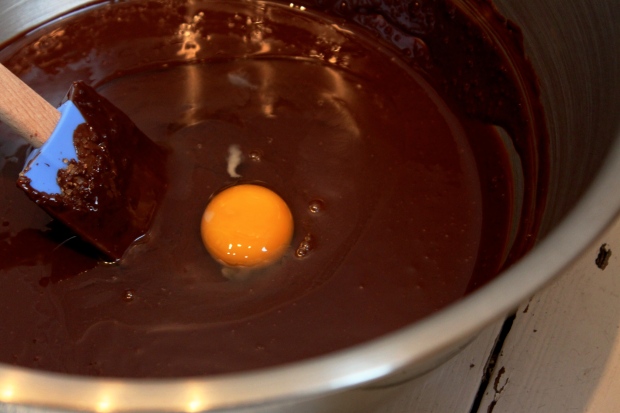
Melt the chocolate and butter in a bowl over a bowl of simmering water, stirring with a spoon until melted. Remove from the heat, add the sugar and beat well. With a whisk, gradually add each egg, beating until combined. Add the vanilla then gently mix in all of the dry ingredients with a spatula or wooden spoon. Stir in the hazelnuts.

IMG_4728

IMG_4730

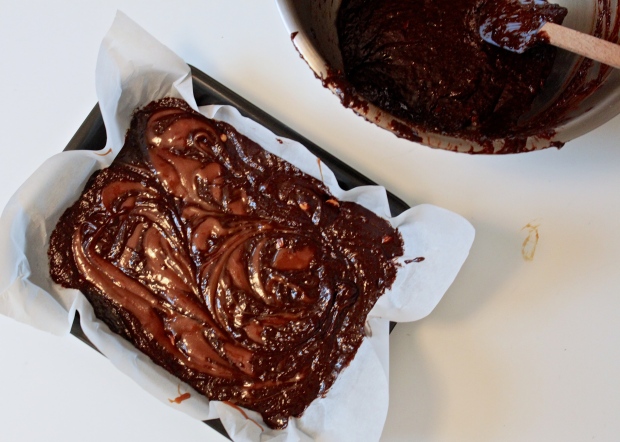
Pour about 2/3 of the batter into the lined tin, add dollops of caramel, using a knife swirl the caramel throughout the mixture. Cover with the remaining brownie batter.

IMG_4739


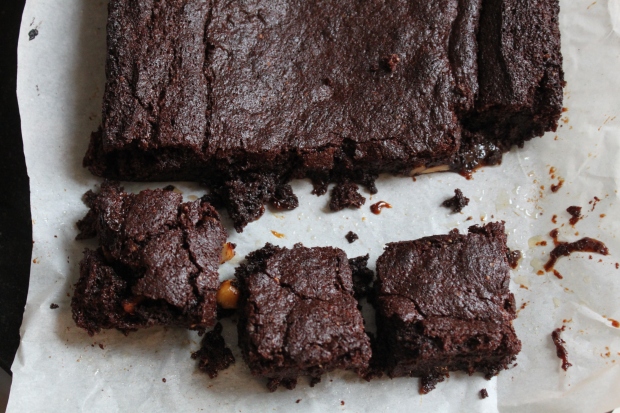
Bake for 35-40 minutes until just firm to the touch. Remove from the oven and allow to cool completely before cutting (if you can resist!)

IMG_4746


Whole Wheat Raspberry Ricotta Scones


photoIt’s been way too long since I’ve baked at home. Not to mention, moving to a new flat again (4 times in one year, I think that should set a record!). Finally settled into my new home, I thought what better way to break in the (new!) oven then to bake something.
Inspired by living in the UK I thought I would try out a twist on something very traditional, the scone. This recipe is for a drop scone and because of the ricotta in the mixture, it’s got a denser texture and crumb unlike the traditional UK scone that is drier. I used fresh raspberries but you could easily substitute blackberries, blueberries, or even a dice of apple or pear. The result is a dense, delicious and pretty decadent treat, but that that goes perfectly with your afternoon tea!

Whole Wheat Raspberry Ricotta Scones
*Adapted from Smitten Kitchen

1 cup (120 grams) whole wheat flour
1 cup (125 grams) all-purpose flour
1 tablespoon baking powder, preferably aluminum-free
1/4 cup (50 grams) granulated sugar
1/2 teaspoon table salt
½ tsp ground cinnamon
½ tsp vanilla bean paste*
6 tablespoons (85 grams) cold unsalted butter
1 cup (136 grams) fresh raspberries
3/4 cup (189 grams) whole milk ricotta
1/3 cup (79 ml) heavy cream

  • Preheat oven to 425/220 degrees. Line a large baking sheet with parchment paper. In a large bowl, whisk flours, baking powder, sugar and salt together.
  • Cut the butter into small pieces with a knife and work the butter into the flour mixture with your fingertips until the mixture resembles a coarse meal. Roughly chop the raspberries on a cutting board and stir them into the butter-flour mixture.
  • Add the ricotta and heavy cream together, stirring them into the dry ingredients with a spatula. Using your hands, gently knead dough into an even mass, right in the bottom of the bowl. This mixture will be sticky and wet, this is okay!
  • Transfer the dough to a well-floured counter, lightly flour the top of the dough and pat it into a circle about 1-inch tall. With a large knife, divide the dough into 8 pie slices. Transfer the scones to prepared baking sheet with a spatula. Bake the scones for about 15 minutes, until lightly golden at the edges. Cool in pan for a minute, then transfer to a cooling rack. Allow them to cool for at least 10 minutes before you dig in!

*Vanilla bean paste is a great substitute to using an entire Vanilla pod, completely optional in this recipe!